IVF Clinic Guide with IVF- Step-by-Step Guide
Any medical intervention that is done to assist a couple to have their own child can be considered an infertility treatment. This can be as simple as receiving advice on the right time of the month to have regular sex, and as complex as a cycle of In-vitro fertilization (IVF). Nowadays IVF has become the most widely used infertility treatment in the world and has helped thousands of Intended Parents to fulfill their dream of parenthood.

IVF- Step-by-Step Guide
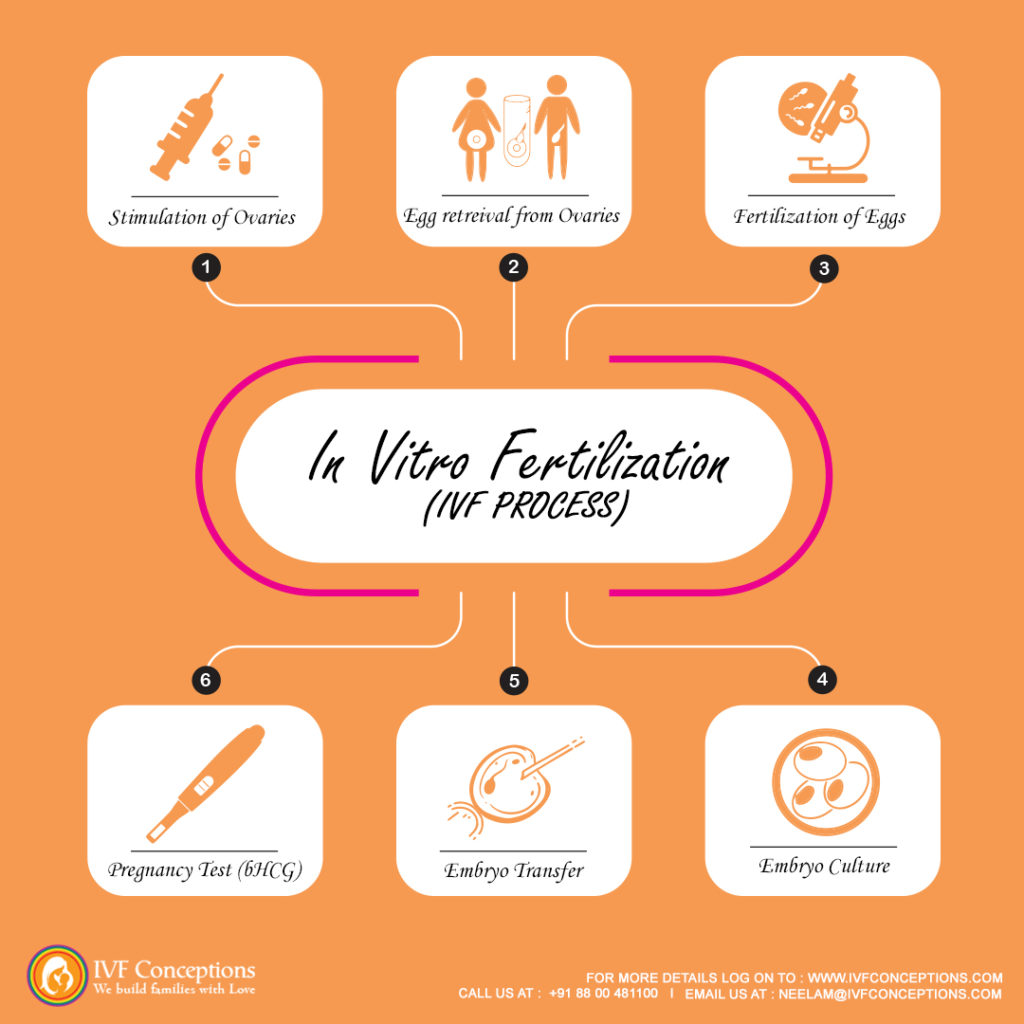
Every cycle of IVF involves multiple steps, and each occurs at a specific time during a four to six-week period. The following is an overview of the IVF procedure. The procedure begins in the month proceeding the actual IVF cycle. An IVF cycle typically includes the following steps:
Step 1. Suppressing the natural monthly hormone cycle
As a first step of the IVF process, you may be given a drug to suppress your natural cycle. To start this treatment either a daily injection (which is normally self-administered unless you are not able to do this yourself) or a nasal spray is given. This continues for about two weeks.
Step 2. Increasing the Egg Numbers
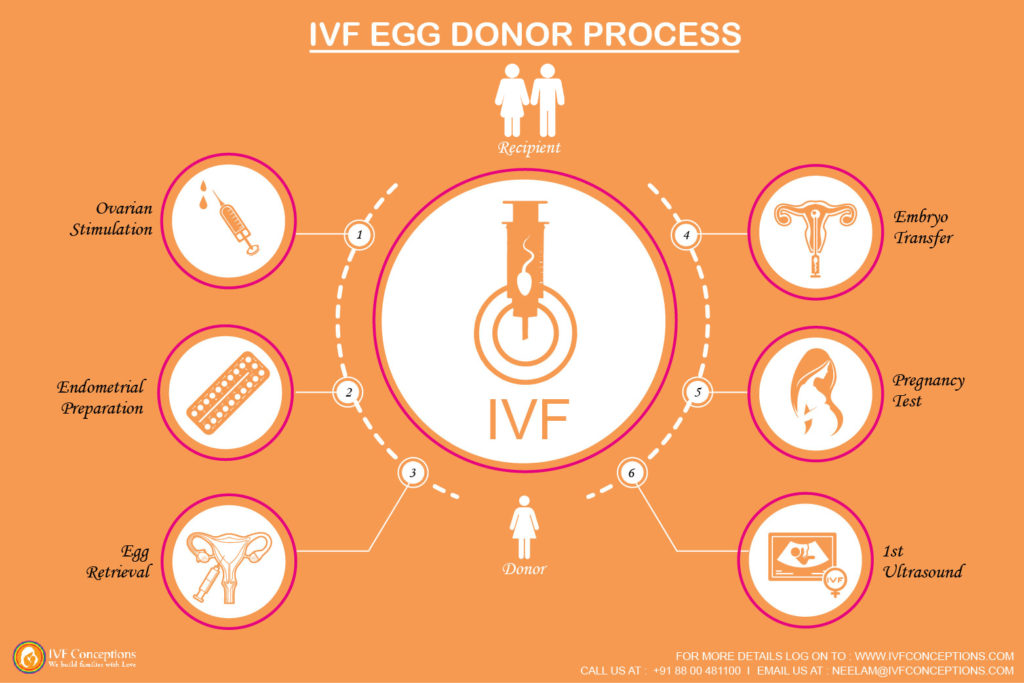
After the natural cycle is suppressed, you are given a fertility hormone called FSH (or Follicle Stimulating Hormone). This is usually taken as a daily injection for around 10 to 12 days. This hormone will increase the number of eggs you produce this means you will have more eggs to be fertilized with semen samples and more embryos for implantation. With more fertilized eggs, the clinic has a greater choice of embryos to use in your treatment.
Step 3. Checking on progress
Throughout the drug treatment, the clinic will monitor your progress. This is done by vaginal ultrasound scans and blood tests. Around 34 to 36 hours before your eggs are due to be collected you have a final hormone trigger to help your eggs mature and subsequently get ready for retrieval.
Step 4. Collecting the eggs/semen sample
In the IVF process eggs are usually collected by ultrasound guidance under local anesthesia. This involves a needle being inserted into the scanning probe and into each ovary, facilitating egg pick up. Sometimes a cramping and a small amount of vaginal bleeding can occur after the procedure.
Collecting sperm
Around the same time, the female partner is going through egg collections; the male partner is asked to produce a fresh sample of sperm. This is stored for a short time before the sperms are washed and spun at a high speed. This is so the healthiest and most active sperm can be selected. If you are using donated sperm, it is removed from frozen storage, thawed, and prepared in the same way.
Step 5. Fertilization of eggs with sperms
Your eggs are mixed with your partner or the donor sperm and cultured in the laboratory for 16 to 20 hours. They are then checked to see if any have fertilized. Those that have been fertilized (now called embryos) are grown in the laboratory incubator for another one or two days before being checked again. Sometimes fertility specialist decides to go ahead with manually assisted fertilization; this process is known as ICSI. Intracytoplasmic Sperm Injection, or ICSI, is a technique in which a single live sperm is injected into the center of a single human egg. This technique is developed to help achieve fertilization for couples with severe male factor infertility or couples who have had a failure to fertilize in a previous in vitro fertilization attempt. IVF-ICSI could be one of the best options for a couple struggling with male factor infertility, which includes low sperm count, low number of live sperms, or sperm motility and morphology issues.
More resources on infertility treatments:
Surrogacy process in easy 7 steps
Step 6. Embryo Transfers
After fertilization, the best one or two embryos will then be chosen for transfer and with the help of a thin catheter transferred into the uterus of a female partner or recipient. This process is known as embryo transfer and it is relatively simpler and does not require any anesthesia. The number of embryos is restricted because of the risks associated with multiple births. The remaining embryos may be frozen for future IVF attempts if they are suitable. Some clinics may also offer blastocyst transfer, where the fertilized eggs are left to mature for five to six days and then transferred. This is known as Blastocyst transfer.
Step 7. Follow-up after Embryos Transfers
After embryo transfer, the recipient is asked to take 2 days of rest and to avoid any strenuous activities. You need to take progesterone supplements continuously to support the implantation. Following 12 to 14 days of embryo transfer, blood tests are done to confirm the pregnancy.
Step 8. Follow-up for pregnancy or next attempt
In case a successful pregnancy is confirmed through blood tests, continuous support of hormone is given until 10 weeks to 12 weeks and after that, it can be followed as natural pregnancy. In case, the blood test shows no pregnancy, further options are discussed with you. In case you have frozen embryos stored, you can go ahead with frozen embryos transfer (FET) and for those with no frozen embryos, the cycle needs to be repeated. In case you have continuous failed IVF cycles, your doctor can suggest donor IVF for you.
If you’d like to learn more about IVF, Egg Donation, or surrogacy services globally, check out the rest of our website at IVF Conceptions. We offer legally secure and affordable surrogacy consulting services for FREE.
Get in touch now to get started! We recommend sending an email or fill the forms below to know your best surrogacy options worldwide. Our surrogacy consultancy is free of cost. We do not charge any fee and make sure that you are well aware of all your options to make an informed decision.

